Invite new users
You can invite users to join your organization by sending out email invitations, or creating reusable invitation links to share.
Prior to inviting users to your organization, it is recommended that administrators:
- Configure default settings for new users.
- Configure a custom welcome message for new users.
- Configure the organization language for automated messages and invitation emails for your organization.
When you invite users, you can:
- Set the role that they will have when they join.
- Configure which channels they will be subscribed to. The organization’s default channels will be preselected.
- Configure which groups they will be added to.
- Customize the welcome message.
Organization administrators can configure who is allowed to invite users to the organization. You will only see an Invite users menu option if you have permission to invite users.
Invite by a verified handle
Section titled “Invite by a verified handle”Organizations using FedIdP can invite a user by a verified social handle. No email or invitation link is sent. The user joins by signing in through FedIdP and sharing that verified social with the organization.
- Click on the gear () icon in the upper right corner of the web or desktop app.
- Select Invite users.
- Choose Verified handle.
- Enter the provider and exact handle listed in FedIdP’s verified socials.
For example, enter
mastodonand@[email protected]. - Select the invitation’s expiry, role, channels and groups.
- Click Invite.
- Tell the user the organization’s normal URL. They must sign in through FedIdP and share the matching verified social when asked.
You can revoke pending handle invitations from Organization settings > Invitations. Revoking an invitation also stops a signup in progress. A permanent FedIdP username or a display name does not count as a verified social handle.
Send email invitations
Section titled “Send email invitations”- Click on the gear () icon in the upper right corner of the web or desktop app.
- Select Invite users.
- Enter a list of email addresses.
- Toggle Send me a direct message when my invitation is accepted, to receive a notification when an invitation is accepted.
- Select when the invitations will expire.
- Select what role the users will join as.
- Configure which channels they will be subscribed to.
- Configure which groups they will be added to.
- (optional; administrators only) Customize the welcome message.
- Click Invite.
Example email invitation
Section titled “Example email invitation”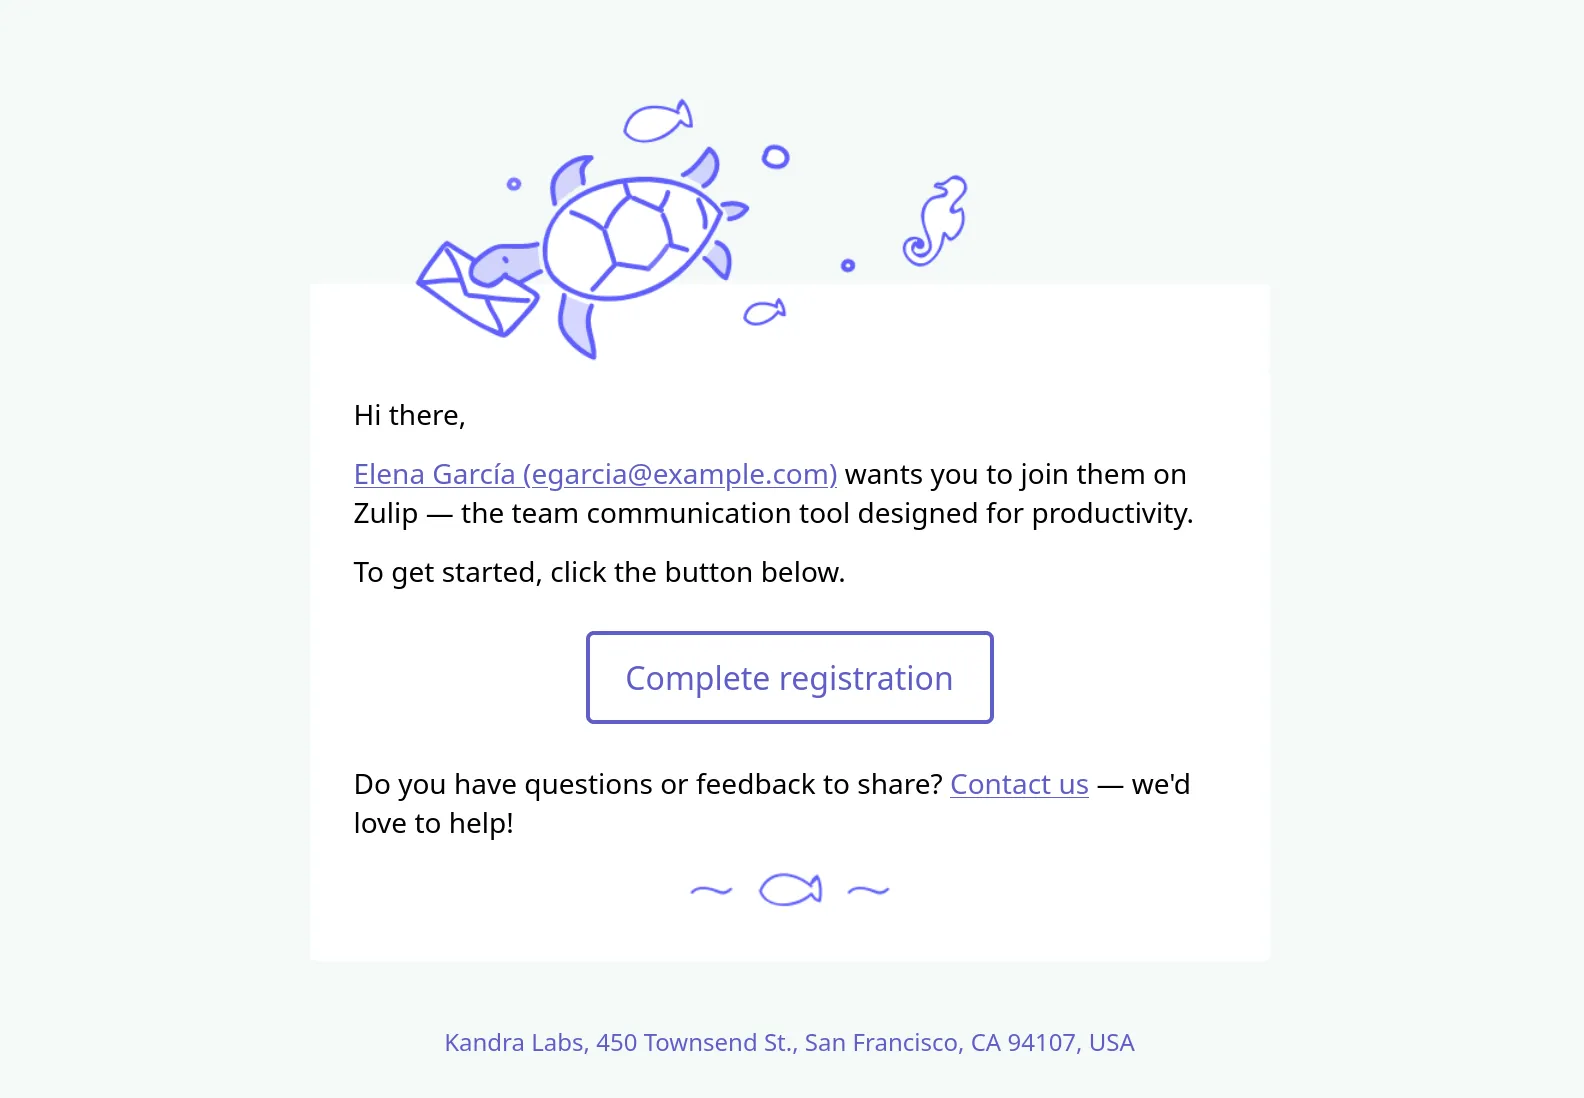
Create a reusable invitation link
Section titled “Create a reusable invitation link”- Click on the gear () icon in the upper right corner of the web or desktop app.
- Select Invite users.
- Select Invitation link.
- Select when the invitation will expire.
- Select what role the users will join as.
- Configure which channels they will be subscribed to.
- Configure which groups they will be added to.
- (optional; administrators only) Customize the welcome message.
- Click Create link.
- Copy the link, and send it to anyone you’d like to invite.
Manage pending invitations
Section titled “Manage pending invitations”Organization owners can revoke or resend any invitation or reusable invitation link. Organization administrators can do the same except for invitations for the organization owners role.
Revoke an invitation
Section titled “Revoke an invitation”- Navigate to the Users tab of the Organization settings menu.
- Select the Invitations tab.
- Find the invitation you want to revoke.
- Click the revoke () icon next to the invitation.
Resend an invitation
Section titled “Resend an invitation”- Navigate to the Users tab of the Organization settings menu.
- Select the Invitations tab.
- Find the invitation you want to resend.
- Click the resend () icon next to the invitation.